Resurrecting an Old iMac for $27
Years ago, my family’s iMac died a sudden and ignoble death, crashing the head of the hard drive and taking years of pictures with it. This was the beginning of the era of personal backups, and we didn’t yet have one. It’s still a sore spot, and the offending hard drive is still sitting around somewhere, waiting for someone to transfer the platters to another housing to recover the data. The cause was a blown capacitor, presumably part of the great capacitor plague of the early 2000s.
This post is about a different iMac, the replacement iMac, which did have backups when it suddenly and ignobly died several weeks ago. Indeed, it was working fine until we shut it down normally, unplugged it, moved it elsewhere, plugged it in and then… nothing. No signs of life. No response to the power button. No visible lights. Did the capacitor plague strike again? Is this hard drive ruined too?
After verifying that the outlet and power cable were good, we figured that we might as well open it. If nothing else, we could extract the hard drive and put it in an enclosure to recover files somewhat more conveniently than through a backup. This 2009 iMac was before the pentalobe era (phew, don’t have any of those lying around), and I found a very clear and helpful video from OWC for how to open it up without any guesswork. Check out that magnetic faceplate.
We blew out approximately 17 pounds of accumulated dust, and after some furious and sloppy internet searching I learned that there were diagnostic LEDs on the motherboard, one of which is supposed to be on at all times while the computer is plugged in, which these were not. You can normally see them by looking up into the speaker grill on the right side.

At this point we pulled out the multimeter and tested the AC in pins and DC out pins1 of the power supply. AC was going in, but only a couple pins were producing DC voltage. Even while the computer is off that seemed fishy, and some more furious and sloppy internet searching revealed that there should probably be at least 4 of the 9 non-ground pins showing a current. That’s enough circumstantial evidence for me, so we pulled out the PSU, being careful not to shock ourselves on the capacitors.2
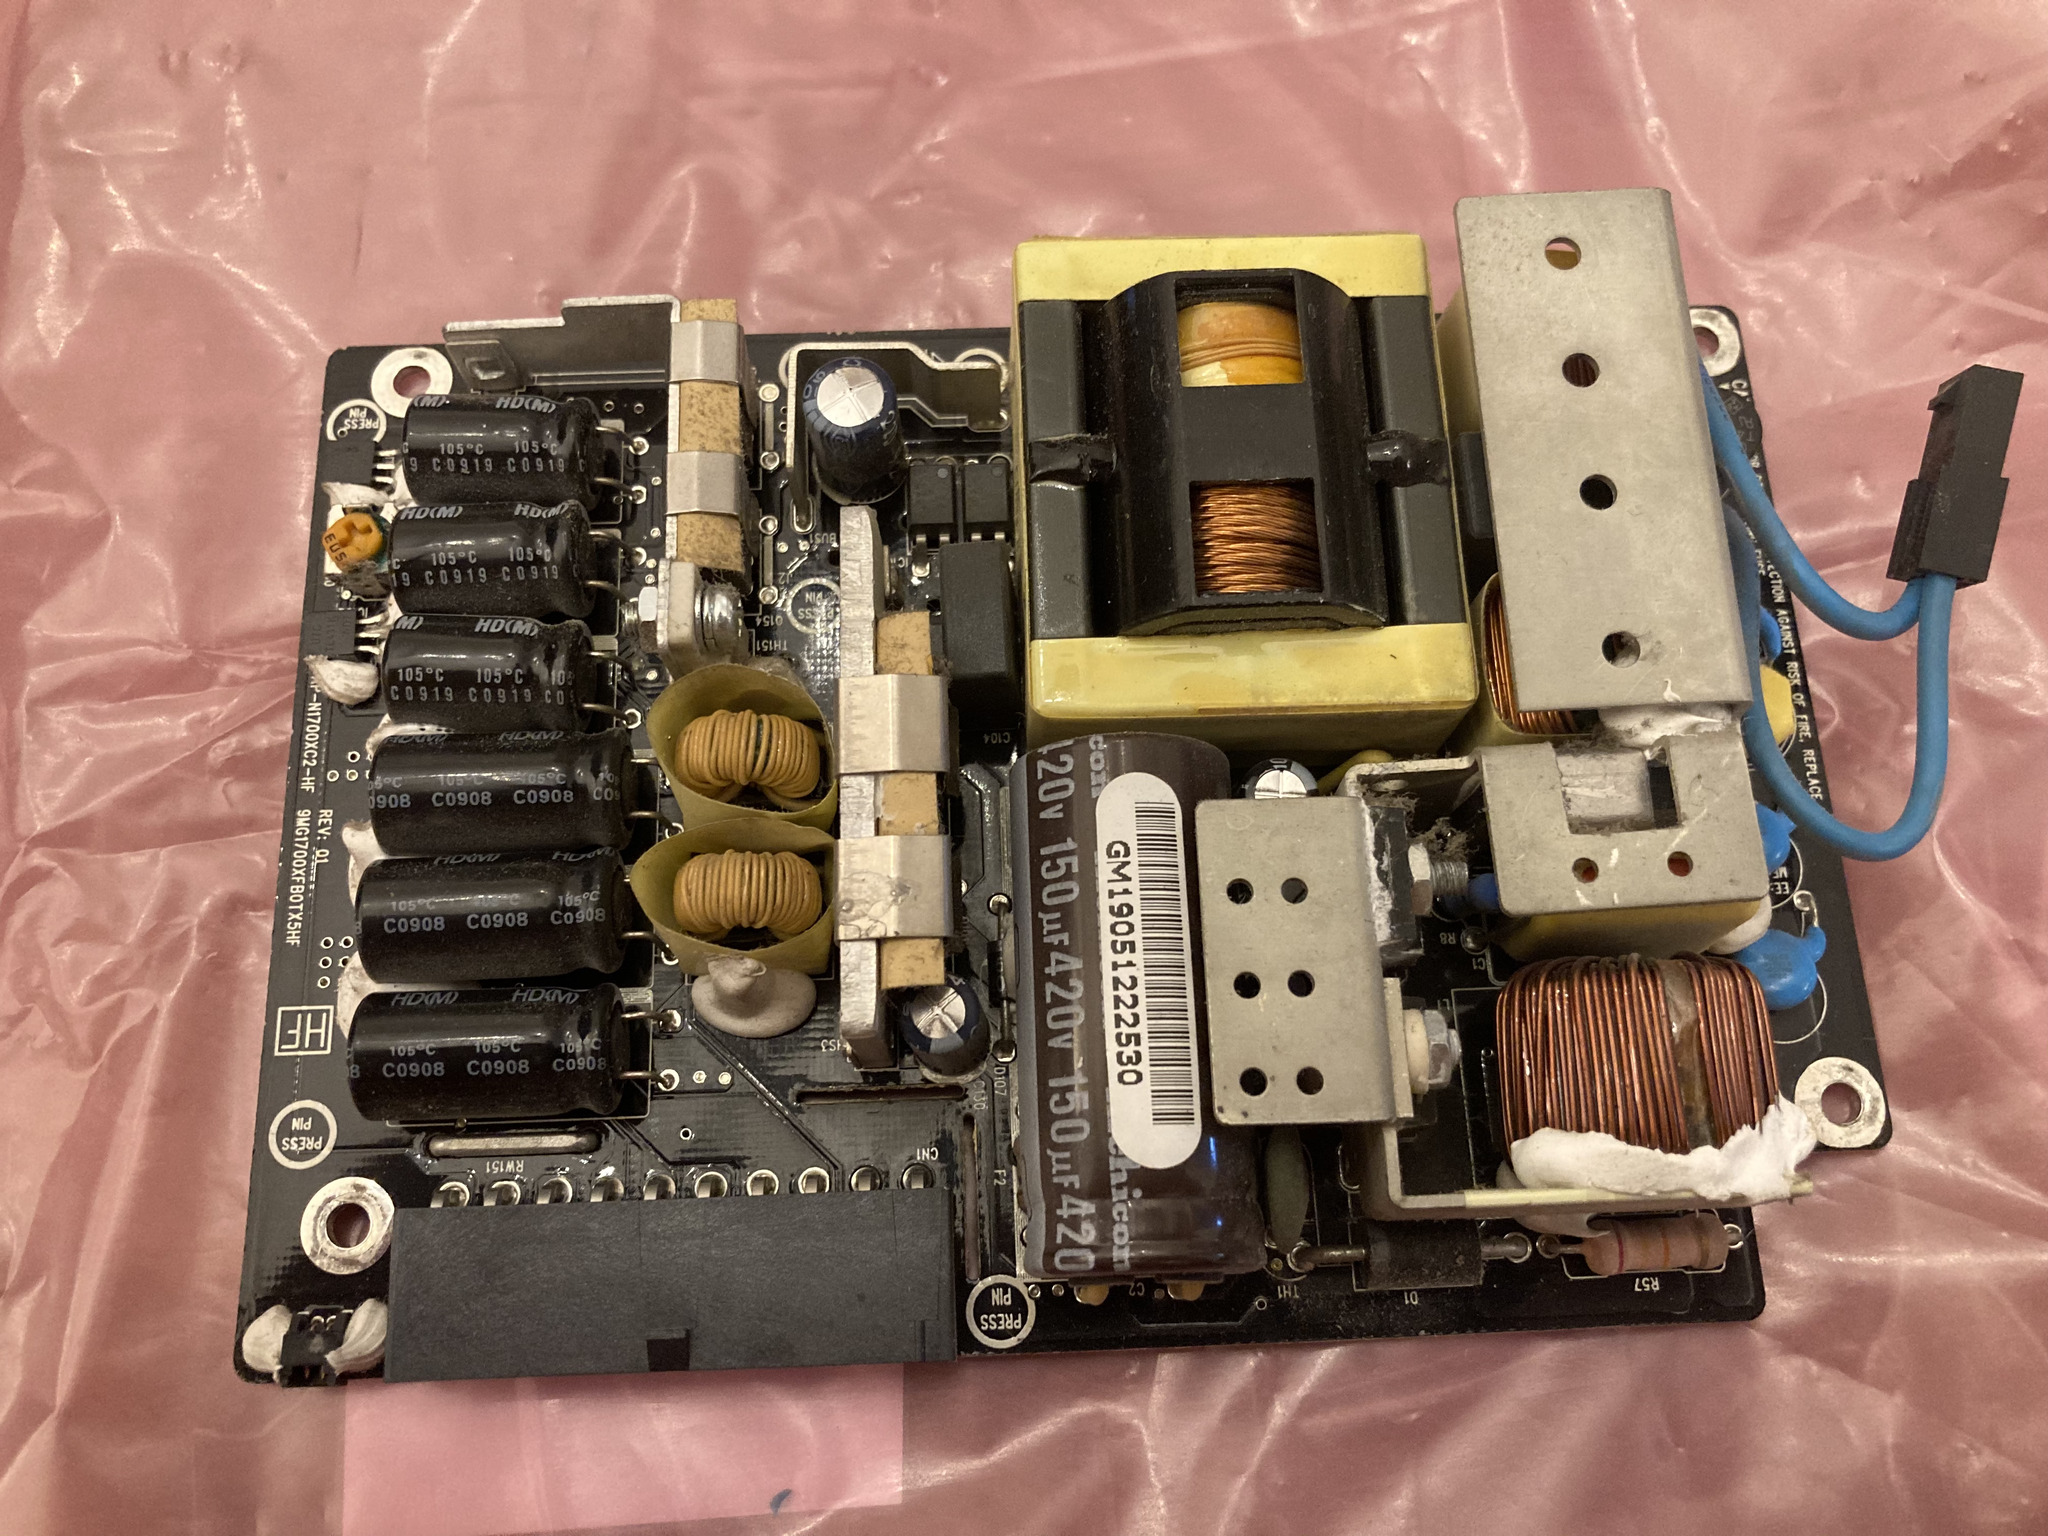
And then on a whim I took a look at the capacitors.

That capacitor on the left is definitely bulging. The capacitor plague continues to haunt us.
We found and ordered the replacement PSU, which was a slightly confusing process since iFixit and a couple other sites seemed to list PSUs that looked different but whose model numbers matched. In any case, we bought it off eBay which had the best price of $27 – compare about $100 for iFixit – and appeared to be an authentic PSU pulled from another iMac.
While looking for a replacement, I turned up Tim’s laptop service manuals, which is an awesome resource of in-house repair manuals for all kinds of computers. The Apple ones are really polished: not just clean layout, but the PDF table of contents works and all the in-document links actually work. They also have extremely clear disassembly instructions, symptom descriptions and diagnosis steps. I followed the steps for “No Power, Dead Unit” and it quickly led to the diagnosis: “Replace power supply”. Nice to have confirmation.
After waiting several weeks for the replacement PSU to arrive (2020 holiday season shipping times were… long), we slapped it in and were greeted with a single glorious LED.

Hooray!
We assembled enough of the computer that we could boot it, just to check before going too far.

Complete with all 3 LEDs.

It lives! It’s now happily chugging along in its new home, and I’m feeling satisfied I saved it with only a small expenditure and entirely used parts. Score for repairability!
As a little bonus discovery, something caught my eye while putting the case back on. Here’s a backlit picture of the case, upside down as it is during reassembly.

It’s a hidden window behind which sits the infrared sensor for those infrared remotes they used to sell. I’d always vaguely wondered how they made it so you could just point the remote in the general direction of the computer and it always worked. I was so used to seeing shiny little black dots ruining TV bezels that it had never occured to me that they could hide it behind the logo. Elegant!
-
I don’t know if this is standard in digital electronics, but here I learned that the ground pin is sometimes marked with a little dot. In this case, there was a small, circular solder speck by pin 1, and I confirmed with a diagram I later found that this was indeed the ground pin. ↩
-
How long do those big ones take to discharge? ↩