Notes on Ebonizing Wood
Ebonzing wood is the process of putting a black finish on woods by wetting them with an iron solution, which reacts with tannins in the wood to turn black. I referenced two guides:
Both are good, but the former felt easier to follow to me. Here are my notes:
Two cups of distilled white vinegar and half a pad of #0000 steel wool took two weeks to stop reacting and settle on a color remarkably like black tea (after I strained it out). I should have started earlier. It’s possible that more iron would make a solution that performs “better” in some fashion, but I didn’t try.
Yes, spring for the quebracho powder/extract. I bought the one from Van Dyke’s one of the guides linked, which was about $30 all-in. (They have a weird shipping-cost policy… it is not $0 as it appears.) Despite supposedly being one of the more tannic woods, my white oak turned at best a pallid grey without help. I also tried oversteeping cheap black tea to make an undrinkably astringent (i.e. tannic) brew before using the bark extract, but it barely made a difference.
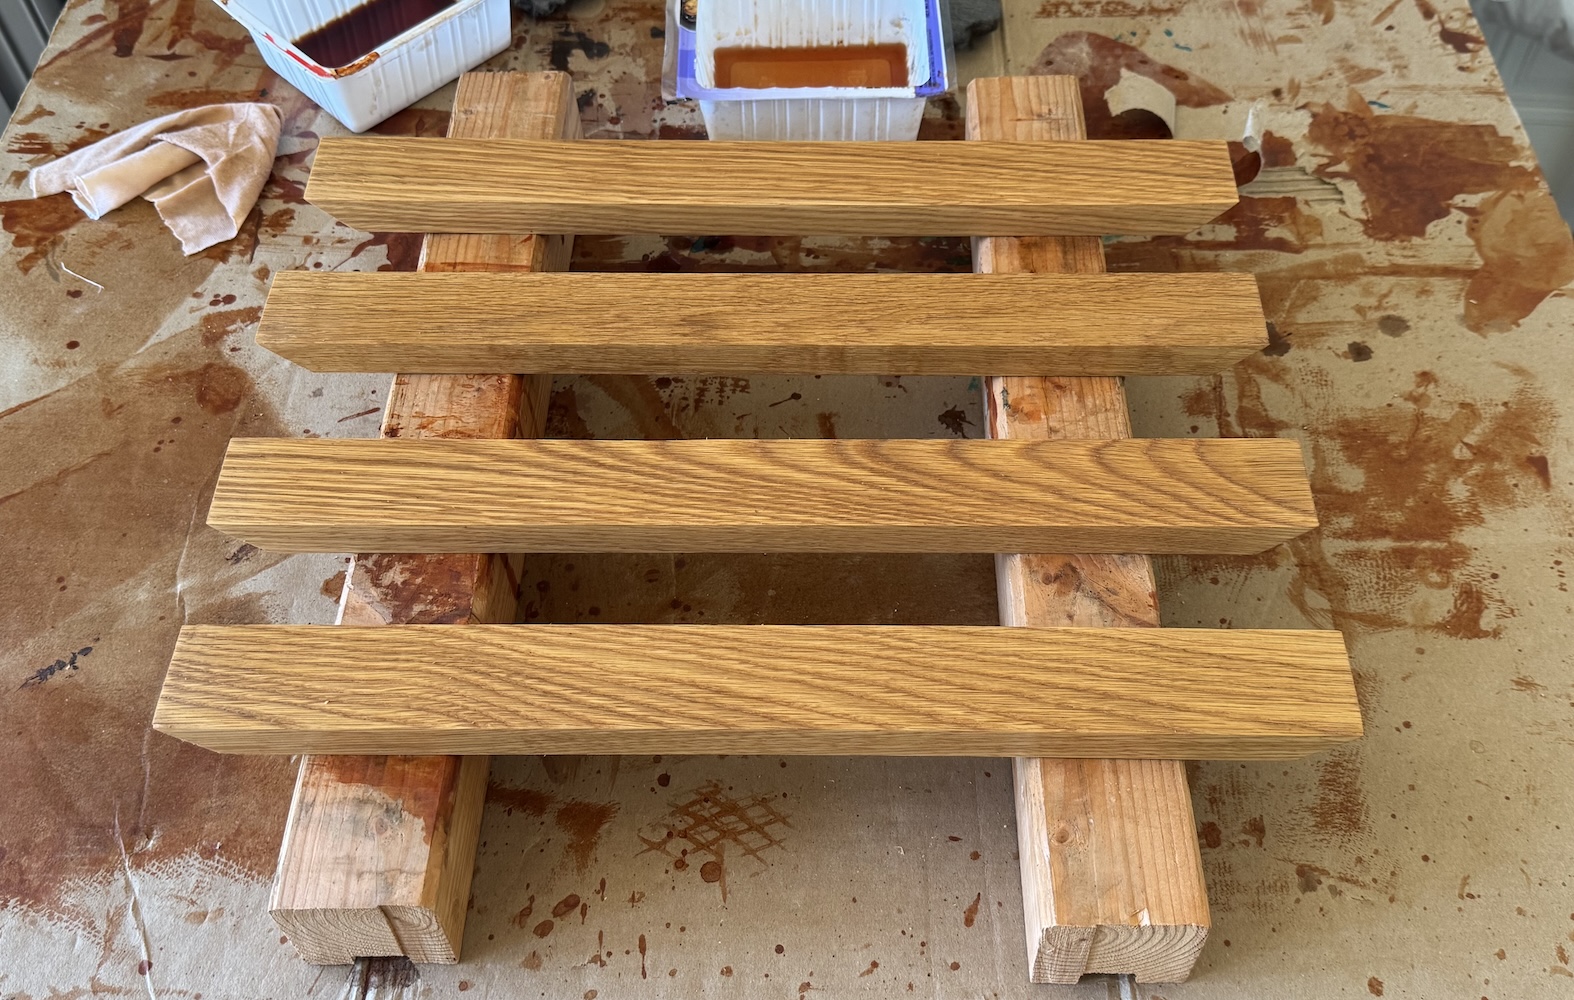
The ebonized layer is thin and the ebonizing solutions themselves are water-thin, so plan your glue-up/sanding/finishing accordingly. I would not recommend more than burnishing or fine steel wool once the ebonizing is done. If you’re doing ebonized accent pieces, you may need to do your sanding/glue-up out of order to avoid accidentally ebonizing adjacent wood, because the solutions will bleed.
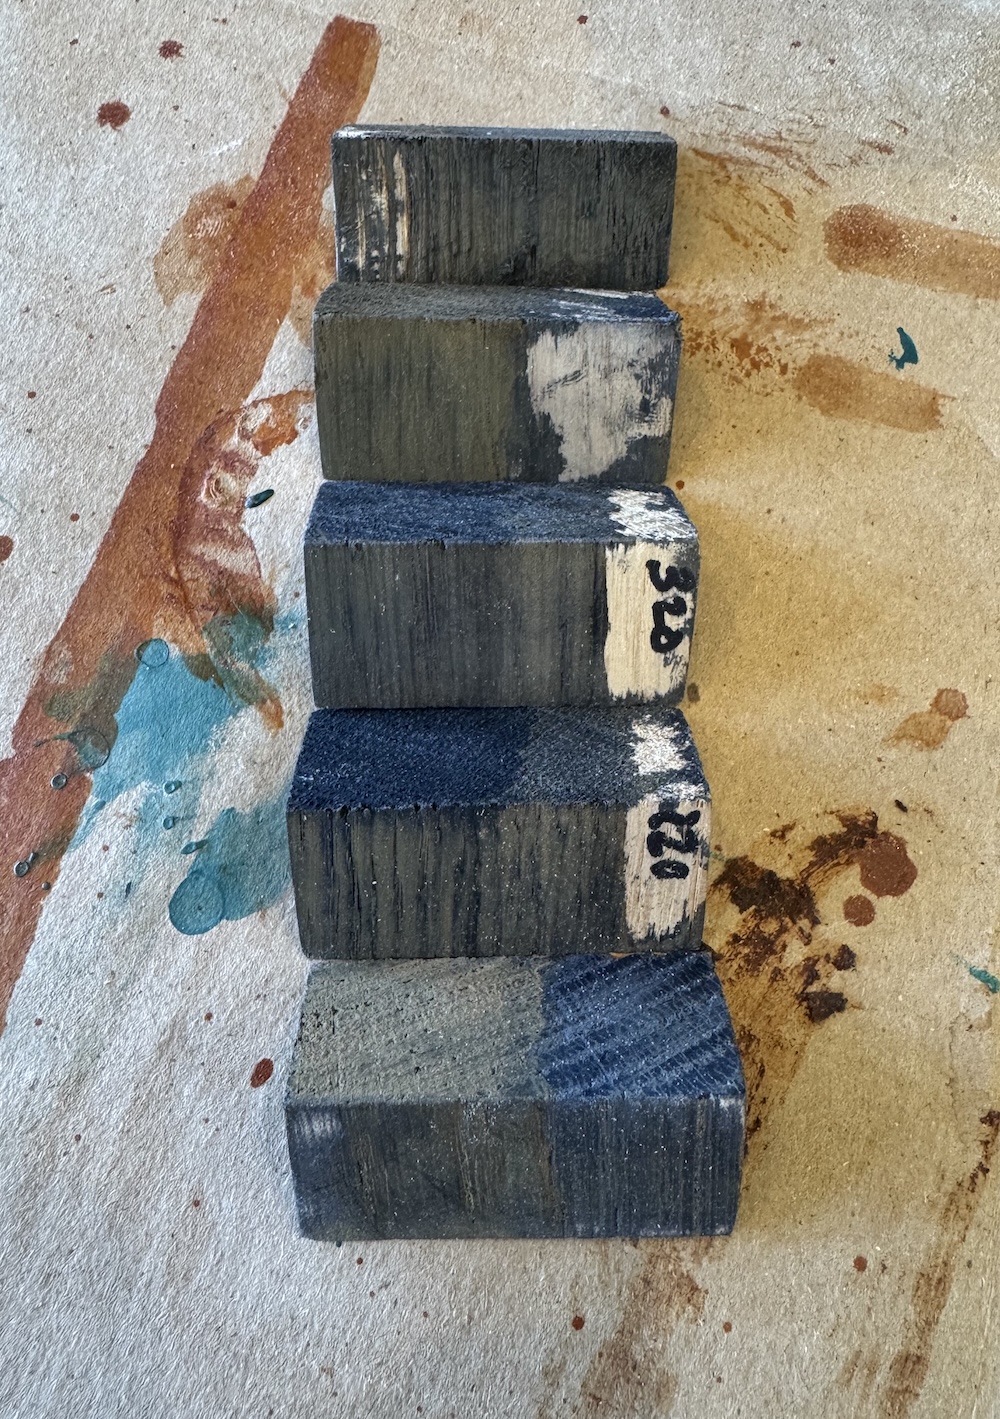
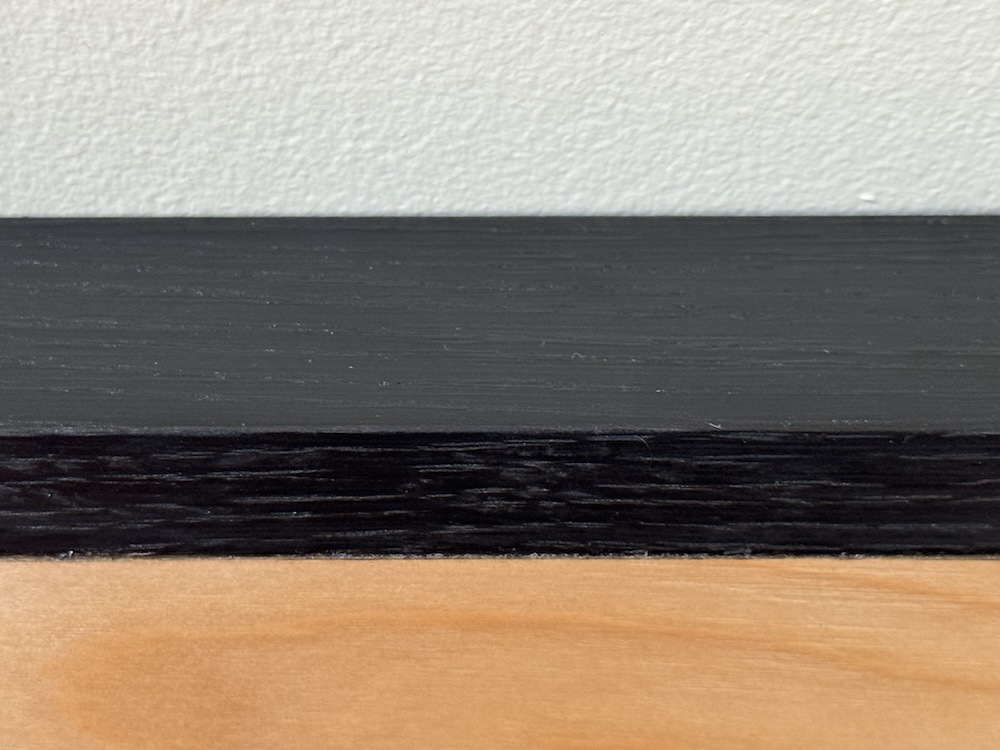
Make sure you get into the deep grain, if your chosen wood has it. My first pieces had a lot of completely un-ebonized white grain streaks, which looked bad. I didn’t do any formal side-by-side testing, but some combination of (1) two coats (of each solution, alternating), (2) using steel wool to lightly rub in the iron solution and (3) a drop of dish soap to break the surface tension allowed me to get a consistent black throughout on white oak. Guide #1 above recommends also sanding and then repeating the whole process, but I didn’t try that. (Maybe next time I’ll try those three separately and see which actually helps.)
Use a squirt bottle or pour the solutions into cups/trays. Because this finish is two-part, you don’t want to get one part into the other! All of your applicators will turn the same dark grey/black by the time you’re done, which you don’t want to happen to your entire supply of the solutions.
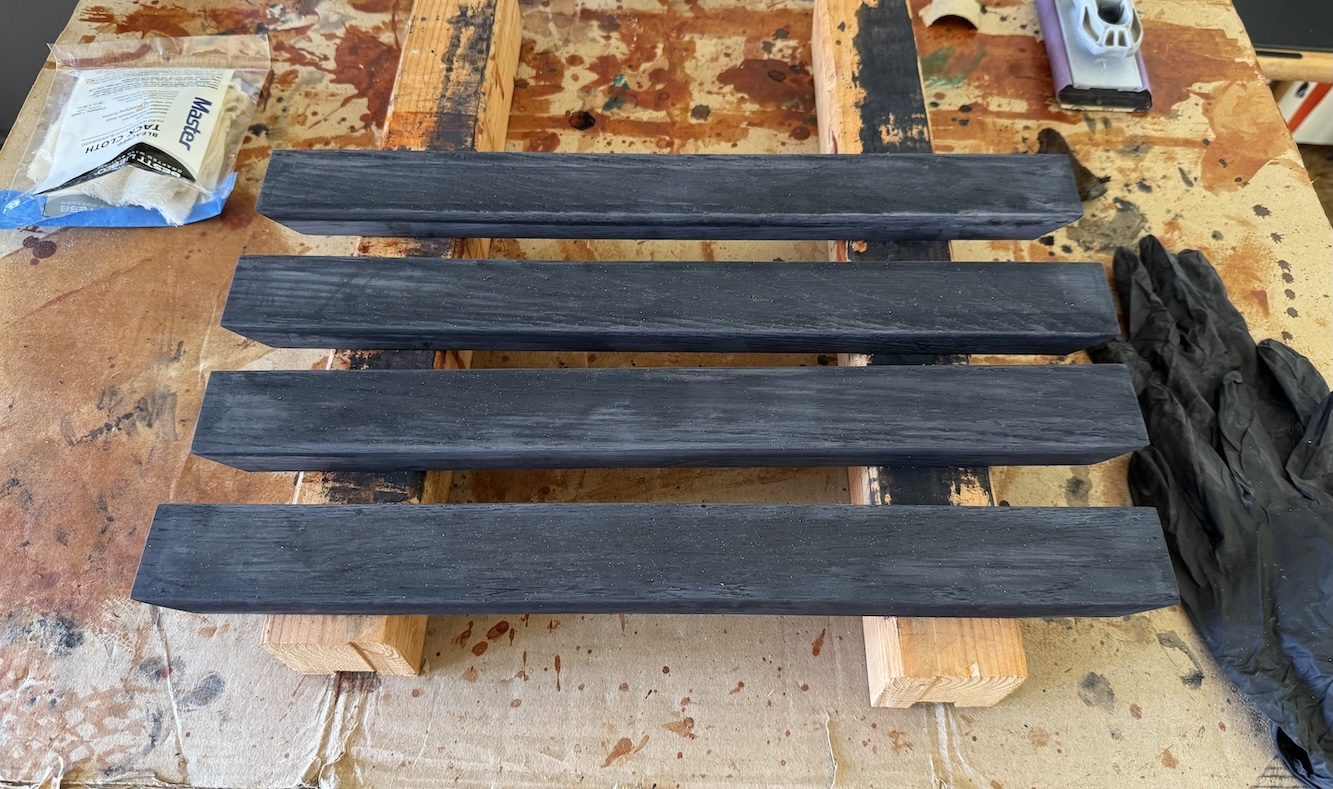
You may end up with a slightly splotchy dark grey, but once you put the final finish on the workpiece it should all turn a deep, even black. Check out the pictures below.
Test, test, test! Variances in wood, application technique, brewing up the solution… there’s a lot of variables which you don’t want to learn about the hard way on your almost-finished workpiece.
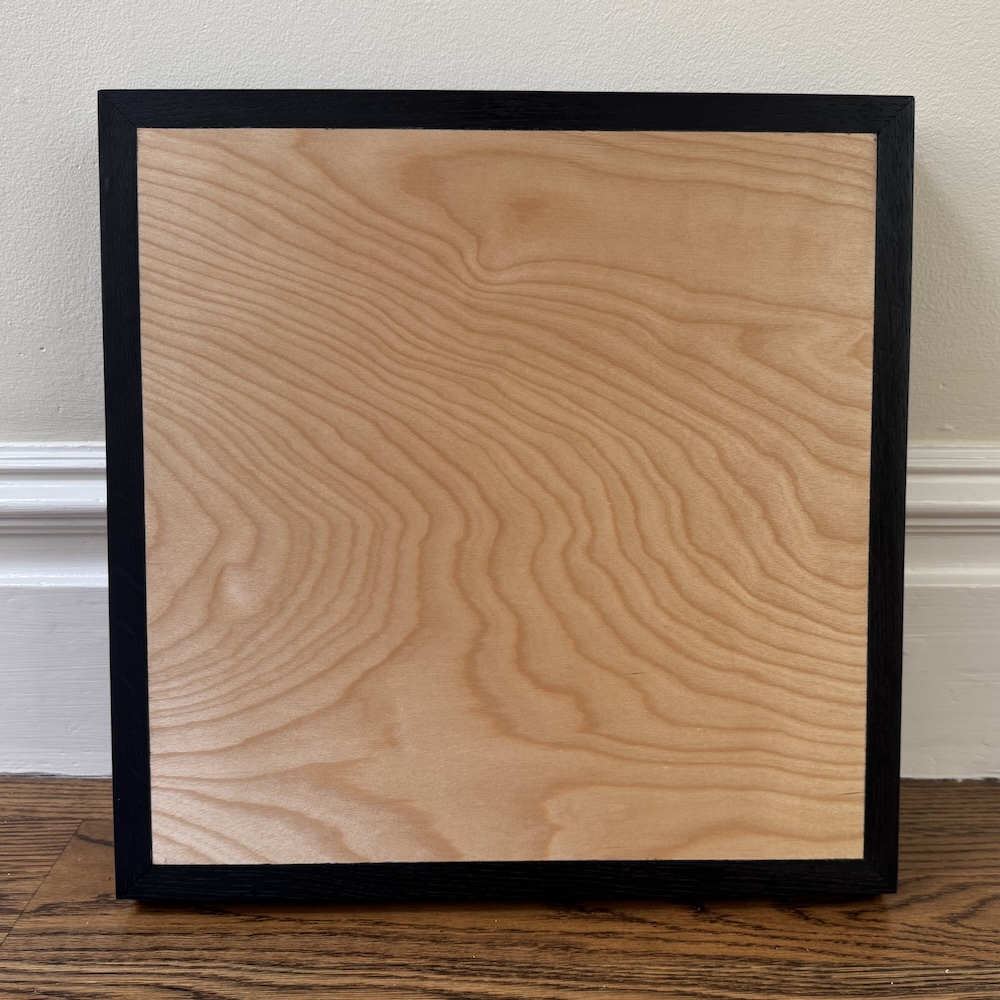
Here’s a few pictures from the process.